
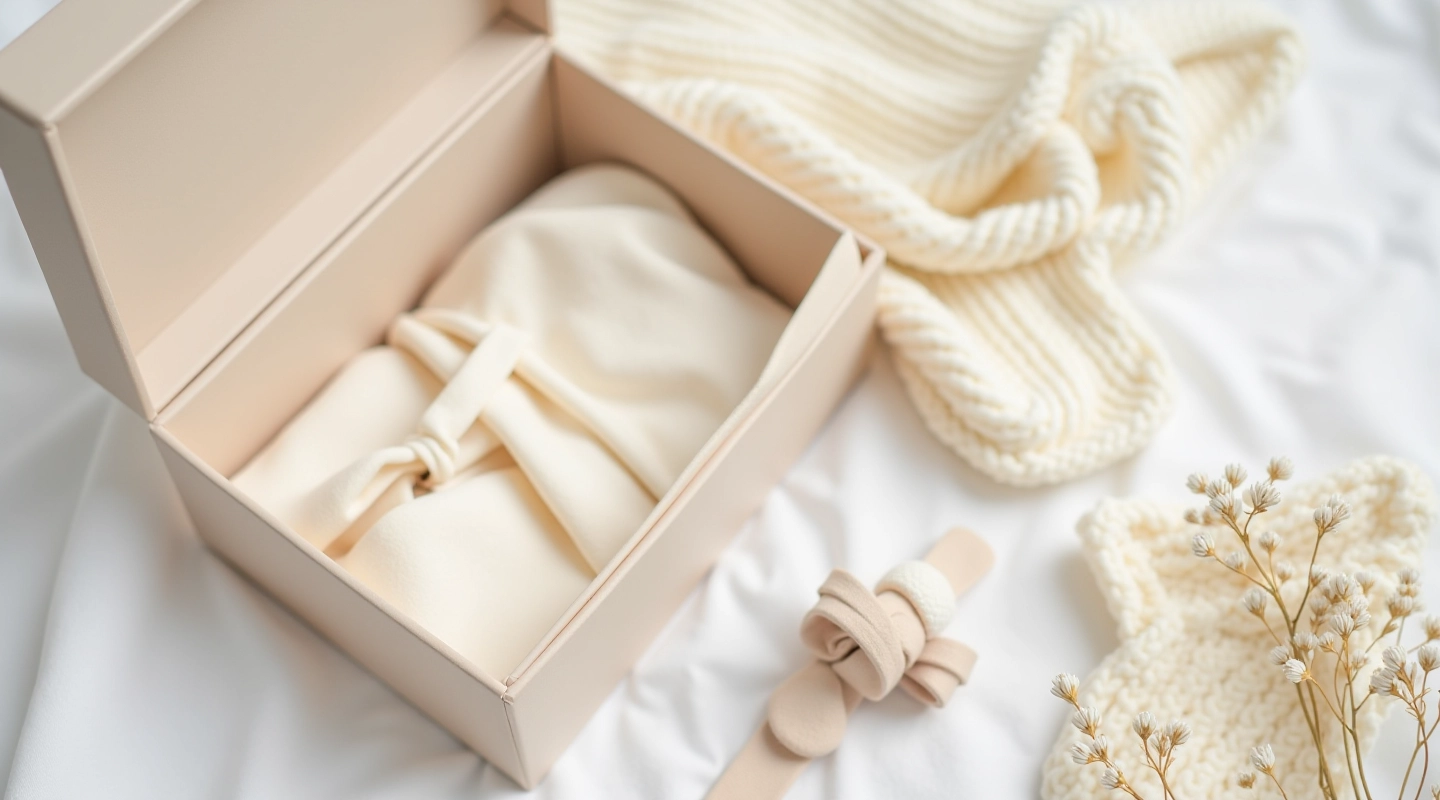
Building a Keepsake Box That Actually Gets Used
Skip the fancy packaging that sits on a shelf. Here's what works for parents who want to keep memories organized.

You don't need expensive cards or perfect setups. Simple markers and a camera phone work just as well. We break down the easiest method.
Here's the thing about those first months and years — they move fast. Really fast. You blink and suddenly your baby's rolling over, then sitting up, then walking. If you're not deliberately capturing these moments, they fade into a blur of exhaustion and joy.
But here's where people get stuck: they think milestone tracking has to be elaborate. Fancy backdrop, professional photographer, coordinated outfits. That's not reality for most families. You're managing sleep schedules, feeding routines, maybe older siblings too. The last thing you need is another stressful project.
The good news? You don't need any of that. A simple marker system with your phone camera creates something you'll actually treasure years later.
Let's keep this simple. You need exactly three things:
That's genuinely all you need. No backdrops. No props. No scheduling sessions around perfect weather. Just consistency and a few minutes each week.
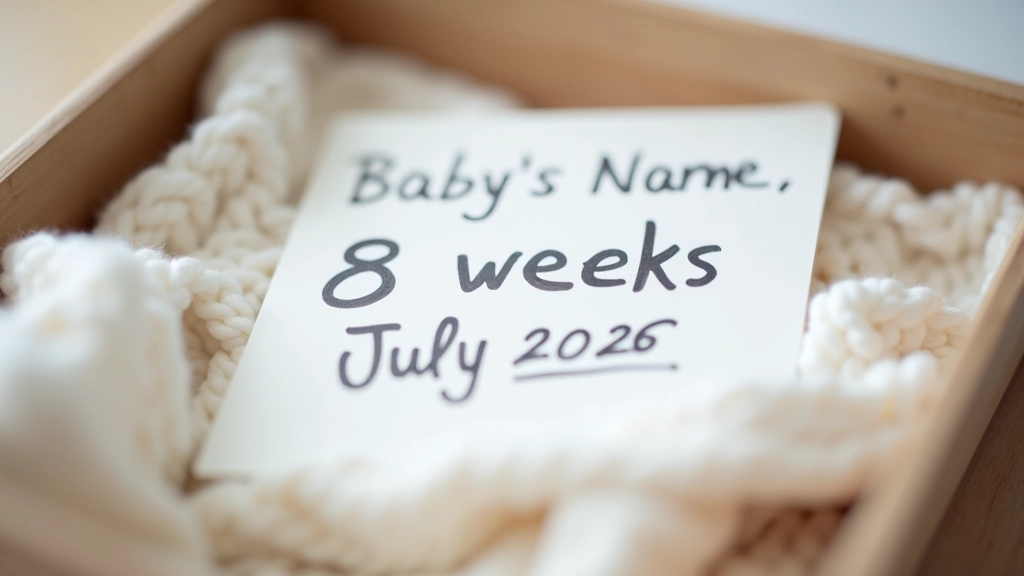

Most families do this weekly or every two weeks during the first year. Weekly gives you more detail on the changes. Every two weeks is less pressure if you're busy.
Pick a day and time that's realistic for your life. Thursday morning before breakfast? Saturday afternoon? Doesn't matter. What matters is you actually do it.
The best light is soft and indirect. A window is perfect. Avoid harsh overhead light or direct sun on the baby's face. Early morning or late afternoon works well. You're looking for that golden hour feeling, but honestly, your phone camera will handle decent light just fine.
Here's what we've seen work across hundreds of families:
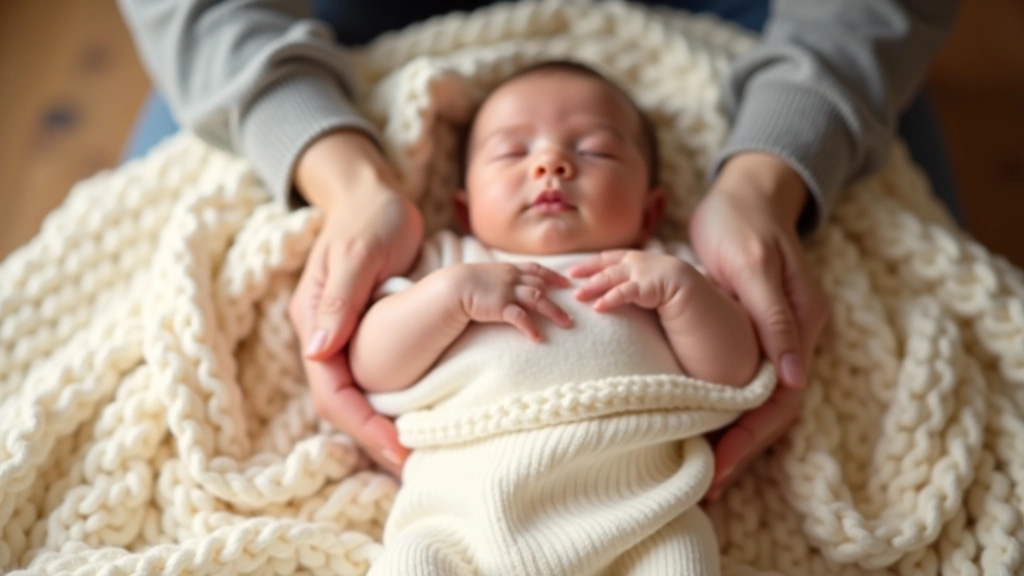
Baby lies on a soft surface — blanket, play mat, or their knitted keepsake blanket. The marker sits beside them. Simple, safe, and you get that overhead perspective showing how tiny they still are.
Baby starts supporting their head. They can sit propped up a bit. Still use the blanket underneath, still keep the marker nearby. They're getting bigger and you want that visible in the progression.
Baby's more mobile now. They might sit up, roll, or crawl. You can place the marker in front of them or beside them. The photo captures their actual abilities at that moment — which is exactly what you want.
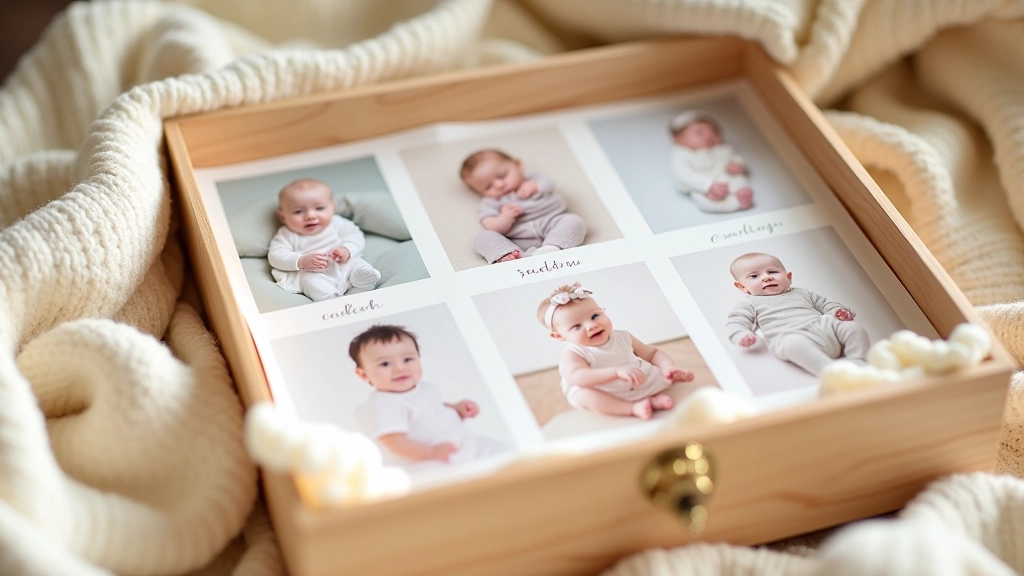
This is where many families drop the ball. They take the photos consistently, then store them on their phone and never look at them again. That defeats the whole purpose.
You've got two solid options. First: print them. Not all of them necessarily, but select one from each month or every two weeks. A 4x6 print is cheap and durable. Slip them into a simple album or a handmade keepsake box. That's something you can pull out and actually flip through with your kid years later.
Second: create a digital album. Use Google Photos, Dropbox, or your phone's native album feature. Title it clearly with dates. Back it up to the cloud so you're not worried about losing them. You can print from there later or just scroll through when you want a nostalgia hit.
The key is consistency. One simple system, used regularly. Not a complicated archive that stresses you out.
Milestone tracking doesn't require Instagram-perfect photos or elaborate setups. A marker, a blanket, and consistent effort create something far more valuable: a real visual record of your baby's growth. Years from now, you'll scroll through these photos and remember exactly how tiny they were. How fast they changed. Those small weekly shifts that felt like nothing in the moment but added up to someone completely different.
Start this week. Pick your day. Write the age and date. Take the photo. Store it somewhere safe. That's your milestone system. Everything else is just extras.
Always supervise your baby during photo sessions. Never leave them unattended on elevated surfaces. If your baby is uncomfortable or distressed, stop and try again another day. The photos aren't worth making your baby upset. This guide is informational — if you have concerns about your baby's development or safety, consult with your pediatrician or healthcare provider.

Editorial Team
Written by the fundzone editorial team, focused on practical guidance for choosing and understanding handmade baby keepsakes.
Skip the fancy packaging that sits on a shelf. Here's what works for parents who want to keep memories organized.
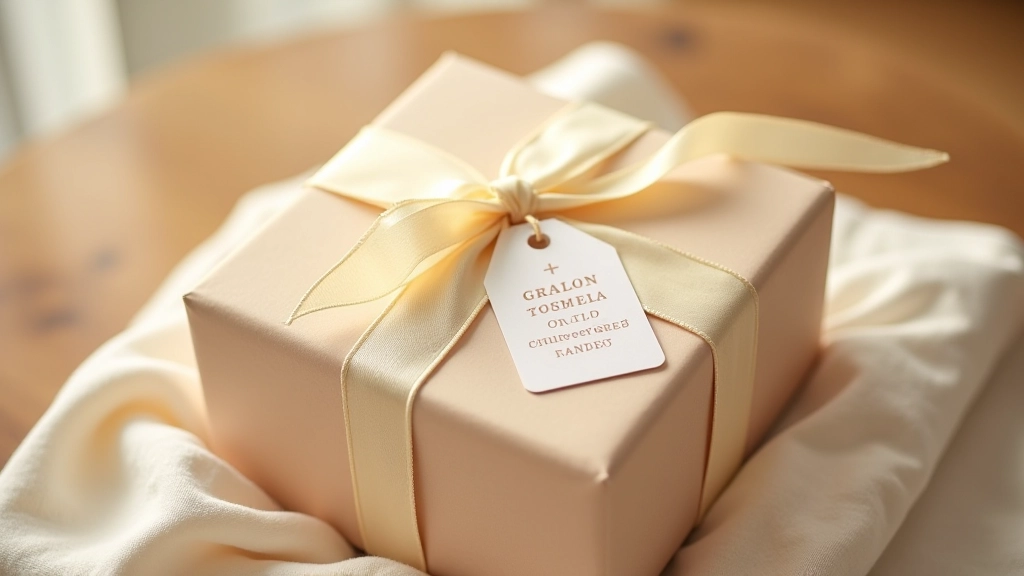
What separates a thoughtful keepsake from something mass-produced? We cover the details that matter most.
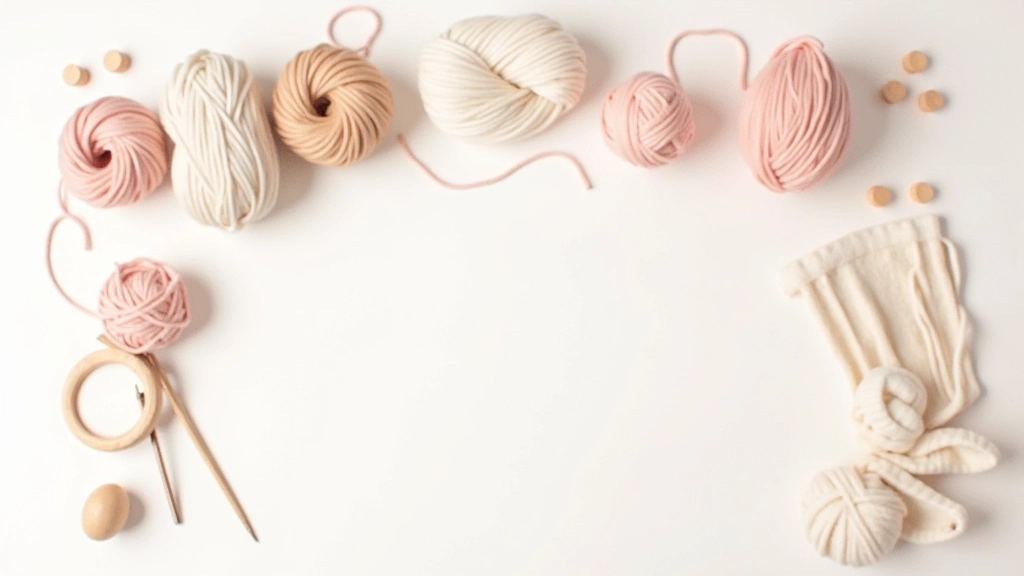
Not all fabrics and inks hold up over time. We've tested what survives years of storage and handling.